


Have you ever bought something and wondered where to insert the USB cord, or if you should press the blue or red button to turn on the TV?
You just want to do it right the first time without trashing your warranty and it’s the same with yoga.
Maybe you’ve heard a lot about yoga and how you can easily do it and you’re thinking, “It’s just bending and stretching, how hard could it be?”
Well, you should know that some people actually got their bones broken from yoga. Here’s an example.
If you are going to do yoga from home, you should know the type that’s best for you and what yoga poses to avoid to not break your bones.
But do you really need yoga?
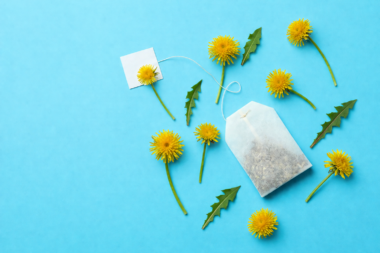
Fortunately, the answer is up to you, but here are a few benefits of yoga you might want to know before you say ‘No’: stress reduction, better sleep, increase in concentration, pain relief, anxiety reduction, and lowering the risk of heart disease.
So tell me, do you really need it?
What you should know before doing yoga
There are different yoga asanas for different purposes. Before you start yoga, you should consider what you are looking to achieve with it first: is it to gain more strength, get more flexible, or get spiritual?
To get the best out of yoga, you need to be consistent with it. You need to squeeze time for it in your calendar even if it means less time with uncle Netflix.
An hour in a week doing yoga alone can be beneficial to your health, however, more is better. Ideally, you should practice yoga at least 2 – 3 times a week for 15 – 30 minutes.
How to set up your home for yoga
Since you’re sure you want to practice yoga and start bending in no time, here are the things you’ll need to practice yoga from home, and it’s not a lot.
1. Space:
Clear out space in your room for your mat. You could do it in your bedroom or living room. Whatever works for you.
The room should be serene and properly cleaned.
2. Essential equipment:
A pant (leggings/tights), a skin fitting top, a towel, and, clearly, a mat or it’s alternative. These are the primary equipment you need to get started. You don’t necessarily need footwear for yoga.
3. Set your goals:
All that’s left is setting some standard for yourself. Set the amount of time you wish to spend on each yoga session and commit to it.
Beginner yoga poses to do at home
There are lots of yoga poses, but as a beginner, you should start your yoga with easy-to-do slow-paced poses – that do not break bones.
Here are 7 simple poses you can do at home:
1. Mountain Pose
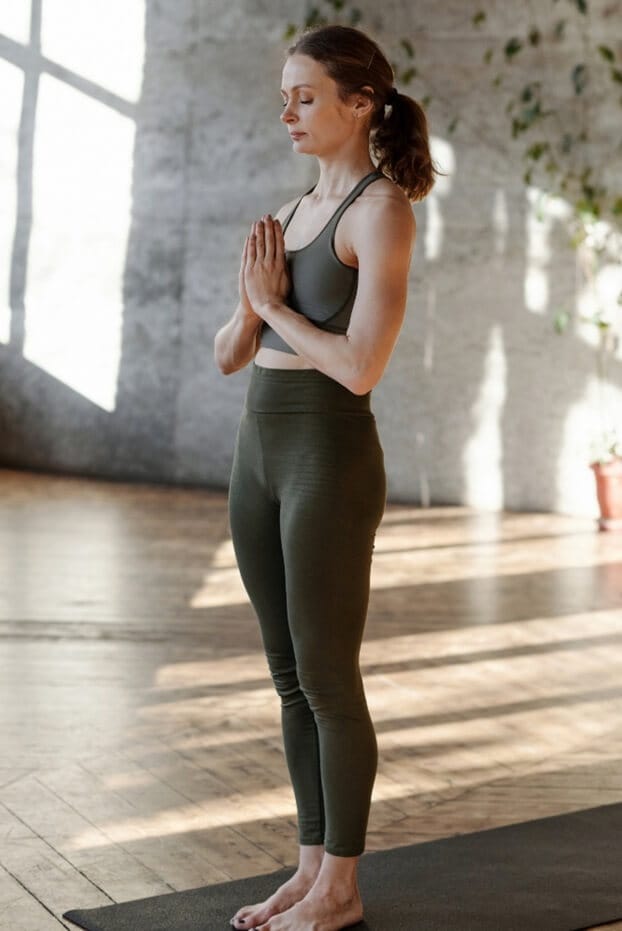
Mountain pose (tadasana) is extremely easy to do. It is the foundation of every yoga standing pose. It allows you to be more aware of your body and helps you strengthen your leg muscles.
How-to:
Stand on your yoga mat and make sure your big toes are touching but your knees are not locked.
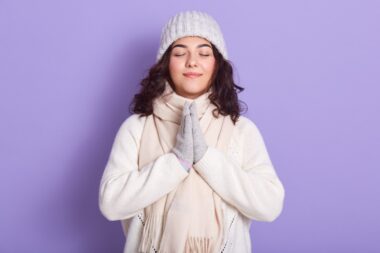
Relax your hands beside you with your palms facing out or you could clasp them in prayer if you want. Lower your chin and feel your neck align with your spine. Hold this pose for 5 – 8 deep breaths.
2. Tree Pose
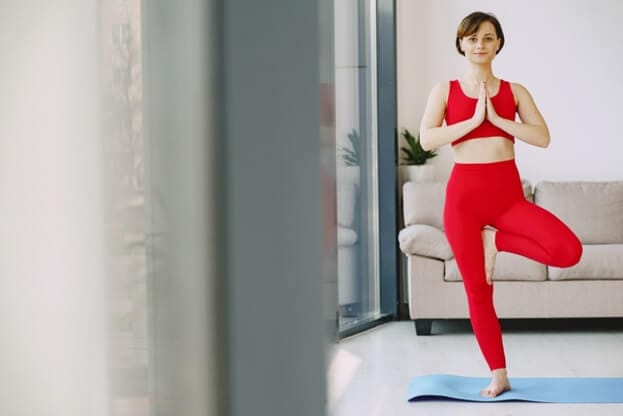
This is a simple and common yoga standing pose that is done on one foot. The tree pose (vriksasana) helps to improve balance and breathing.
How-to:
Stand on both feet, then raise your right foot to rest on the upper thigh of the other leg.
Clasp your hands in prayer and fix your gaze on something to help you stay focused. What you’re gazing on can be anything, you just have to make sure you’re looking at something in front of you.
Switch legs after about 8 – 10 breaths and keep your shoulders relaxed. You may not be able to hold your balance for a long time on one leg and it’s fine, as you keep practicing, your body will adjust to it.
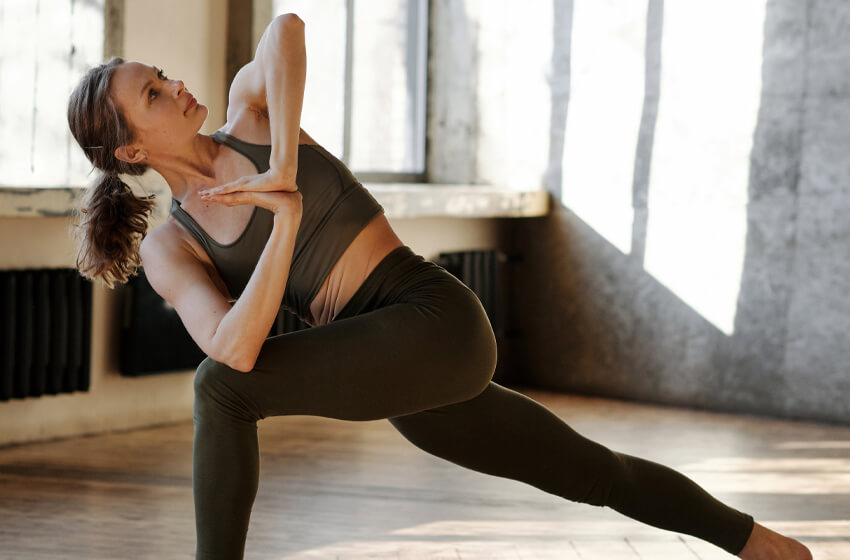
3. Triangle Pose
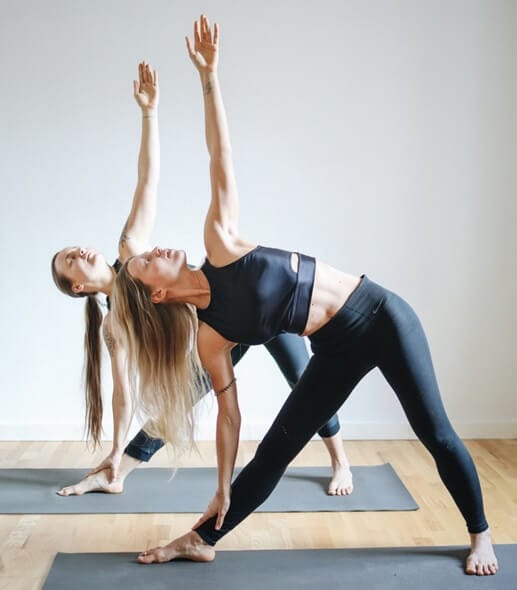
The triangle pose (trikonasana) is a great standing pose that helps to stretch your side-waist muscles and strengthen the legs, knees, and back.
How-to:
From a standing position, jump your feet apart so that there is a wide distance between them (3 – 4 feet). Outwardly turn your right foot and turn your face in that direction.
Raise your arms out your sides to a ‘T’ shape as you straighten your right leg. Now bend your waist slightly on that leg so that your hips lean back.
As you hold that pose, bring the right palm down on your ankle and maintain a straight spine as you do that.
Finally, turn your face in the direction of your left arm so that you’re looking up. Hold for 5 – 8 breaths and switch sides.
4. Plank Pose
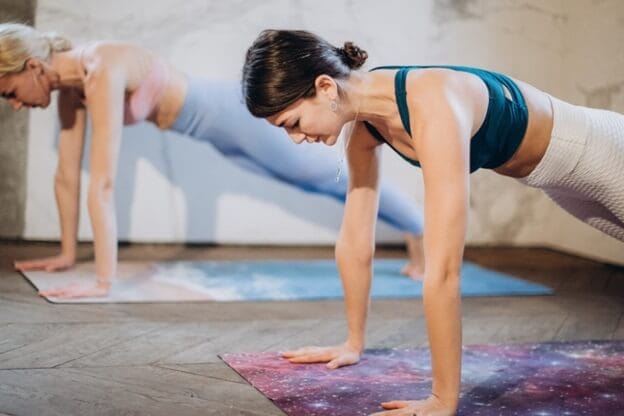
The plank pose (phalakasana) helps to strengthen the torso and build balance.
How-to:
From a kneeling position, bend forward as you rest your palms on the mat (in shoulder-width). Straighten your legs out as in a push-up position. Hold for 8 – 10 breaths.
5. Downward Facing Dog
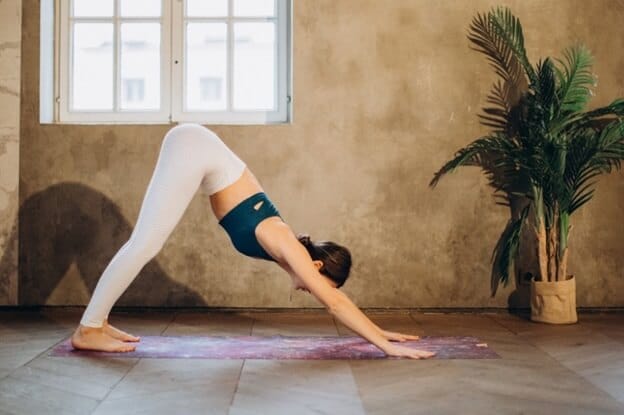
It’s one of the most popular poses in yoga and it’s pretty simple to do. Downward facing dog (adho mukha svanasana) helps you stretch your spine and quadriceps.
How-to:
From a standing position, bend your waist so that your knees are not bent and your hands are on the mat, supporting your weight.
Now as you exhale, stretch your body outwardly as you walk your hands forward, with your butt and legs forming a straight slant. Hold for 5 – 8 breaths.
6. Seated Forward Bend
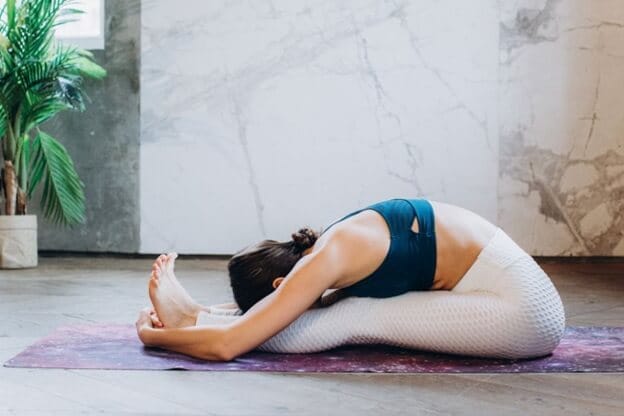
Seated Forward Bend (paschimottanasana) helps to stretch the hamstrings and the back. It’s a great way to prepare yourself for more complex yoga poses.
If you observe abdominal cramps when doing this yoga pose, pull back and try again.
How-to:
In a sitting position, stretch out your legs so that your big toes are touching. Bend forward so that your face is directly above your knees. When you reach your maximum bending point, stop.
Now rest your forearms on the mat. Stay in that position for 8 – 10 breaths.
7. Child’s Pose
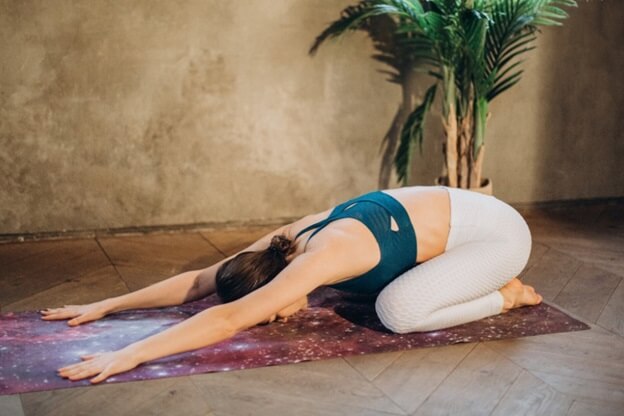
Child’s pose (balasana) is a great way to relax your muscles and rest especially after a long hold in downward facing dog or plank. Child’s pose helps you stretch your back, hips, and thighs and can be a great back pain reliever.
How-to:
From a standing position, make sure your legs are not too far apart. Sit on your knees so that your butt touches your heels.
Now stretch your arms forward to the mat and lower your head to the mat or pillow. Hold for as long as you wish and breathe.
Also read: How Yoga And Meditation Can Help Addiction Recovery
Seems easy to me… how could I break a bone doing these?
When you start doing yoga, you may find it difficult to make some bends as your body may seem stiff. Don’t get stubborn. Making the wrong bends or trying to overbend can prove as dangerous as a dog without a leash.
If you find that a bend or pose is hard to do, pull back, take a break, and go again. As you practice, your body starts to get used to it.
However, when doing your yoga, you might be tempted to try out some top-level yoga poses that we usually see on Instagram.
While it’s totally fine to want to try out new poses as you are just starting out, some of them could break your bones if not properly done. As a beginner, it’s best to only admire them from a safe distance.
Some of these poses are:
1. Headstand Pose
Wouldn’t it be amazing to just pop by on Instagram with pictures of you killing a headstand like a pro?
Well… the words are, ‘like a pro.’
Everybody loves to see a good well-posed headstand (Shirshasana) but it takes a whole deal of practice to be able to nail that posture.
As a beginner, you should not try it without guidance from a yoga instructor or you might break something, and it might not be the plates this time!
2. Peacock Pose
The peacock pose (Mayurasana) is another fancy pose you should not try when starting as a beginner. It too takes practice and consistency or you might hurt your arms or, worse, hit your chin against the floor.
3. King Pigeon Pose
Now, this is definitely a pose you don’t want to try without the guidance of an instructor. It’s beautiful but delicate and dangerous.
First, you should attain full flexibility, balance, and stamina before taking on this pose.
As you advance in yoga, you can practice these complex yoga poses under the supervision of a yoga instructor. Until then, practicing them at home may lead to bone or muscle injury.

Michael Bankole is a health/lifestyle writer. He seeks to help all colors of people live better lives. When he’s not researching, reading, or writing, you’ll catch him listening to music and humming along. You can also catch him on Twitter.